Making a Pinhole lens for a Canon Rebel XT

By Ryan Raz, July 2005


Specifications:

    Depth of Field - Infinite
    Equivalent focal length - 50mm
    Resolution -  very poor!
    Speed -  slower then you can imagine.
    Cost - cheapest Canon lens (the main component is a Canon part)

Making the Pinhole Lens

Parts:

  1. Canon camera body cap. Canon  caps because they have a thread  are claimed to be light tight. I brought an used cap, so technically this is a used Canon lens. Test out the light tightness of the cap by placing it on the camera body and exposing a shot directly into the sun for 5 seconds or so. The exposure should be completely dark. This test is good for other models and makes of cameras.
  2. Quality aluminum foil
  3. Plastic film with self adhesive backing. I used  the clear 3m film that they apply to the front of automobiles to prevent rocks from chipping the paint.
  4. Hollow tip 32 gage needle. I used a new insulin  pen needle.
  5. Sharp craft knife or razor blade
  6. Cutting board as a work surface
  7. Small piece of dense stiff foam such as styrofoam
  8. Cork 
  9. 3/16" drill

Construction:

  1. Drill  a 3/16" hole in the inside center of the cap. Use a piece of wood as a backing  so that the hole will be fairly round. Use the knife to clean and deburr the edge of the hole.
  2. Cut  a  donut shaped piece of plastic film  3/4" OD. - 3/16" ID.
  3. Cut a  1/2" disc out of  the aluminum foil. 
  4. Flatten the foil by placing on a hard flat surface and rubbing the foil with a  piece of cork (drink the wine first). Be careful not to damage the foil.
  5. Place the 1/2" foil disc on the backside of the cap, centered over the 3/16" hole.
  6. Remove the backing to expose the adhesive on the plastic film donut.
  7. Place the film donut sticky-side down centered over the foil, use your fingers or the knife edge to seal the foil between the film and the cap. Make sure the foil is flat and sealed around the complete circumference. Note there should be only foil covering the center of the cap.
  8.  Place a the cap face up with the bottom of the cap and the foil supported by a small piece of dense stiff foam.
  9. Very  carefully  puncture the center of the foil with the 32 gage needle. The motion of the needle should be straight up and down., any sideways motion or too deep of a penetration will distort the pinhole.
  10. Have fun!

Alternative Way to Make the Pinhole

Before the foil is installed in the cap just after step 4: 
Using this method allows you to practice making pinholes and also allows you to inspect the hole before installation. Note that the needle can only be used a few times before it will get dull and has to be replaced.

Each different pinhole will have its own unique qualities, ideally the pinhole should be perfectly round, perfectly flat and as thin as possible. This is impossible without buying a manufactured hole (yes you can buy a hole) .  Unfortunately my microscope is on loan so I can not actually inspect the pinhole except by holding it up to a light bulb. Hopefully I will update the page with actual hole details when  I get the microscope back.  


Notes:

For a lense hood I brought an inexpensive rubber hood and glued it on with Gloop. The hood allows about a 90° field of view which is still too wide for the pinhole lens.

Some References:

Pinhole Visions - The Art of Pinhole Photography  Magazine with everything pinhole photography
The Pinhole Camera: Imaging without Lenses or Mirrors By Matt Young  (Some of the physics and history of the pinhole camera)
Luminous Landscape - Pinhole Camera Tutorial  This page has some good photos and suggestions for making large format film cameras
Isabelle Lousberg If her work doesn't inspire you why bother!

August 21 2005 Pinhole Pictures with Lens Hood


Two Bicyclists


Wards Island Gap


Hanging Gourd

Earlier Pinhole Pictures without Lens Hood


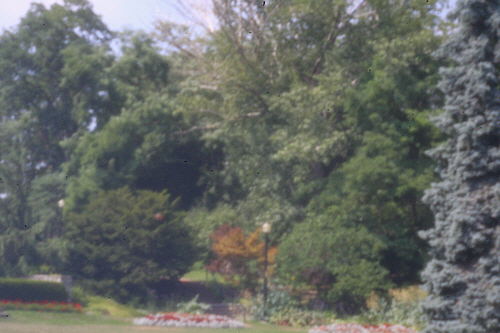
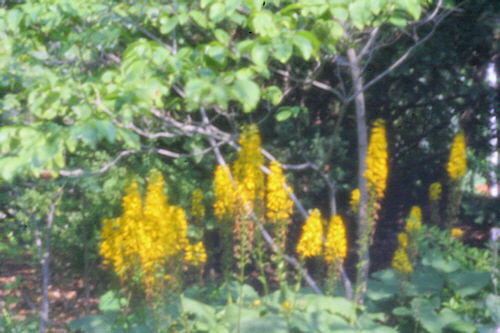
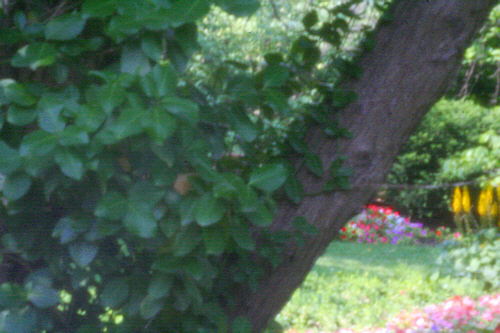
Because of the small aperture size of the pinhole any dust on the sensor will show up.

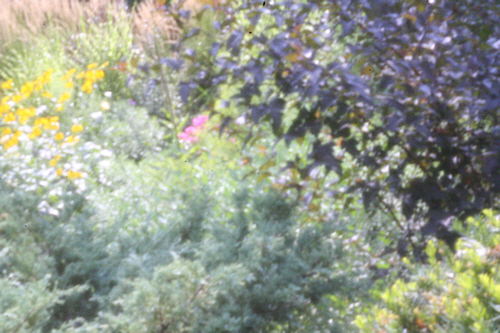
Just for fun loads of digital processing on this image

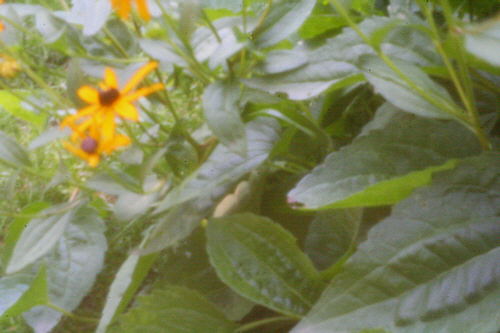
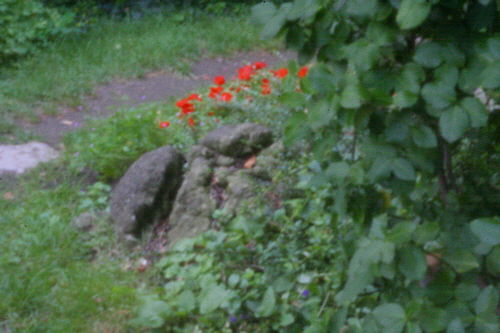
Shooting in the direction of the sun causes a rainbow interference effect.

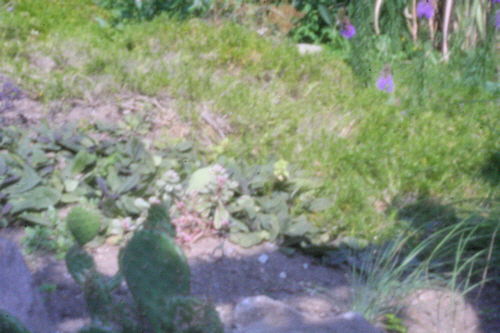
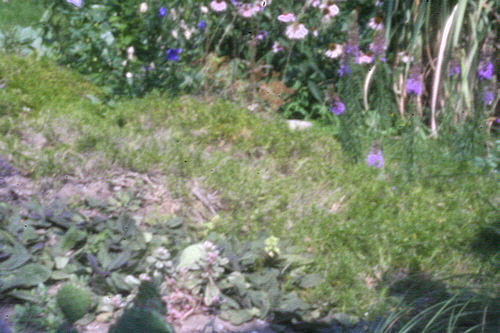
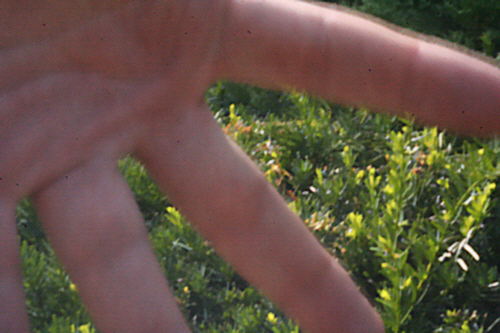
No problem with depth of field, equal Gaussian blur at all distances! The top finger has some motion blur.

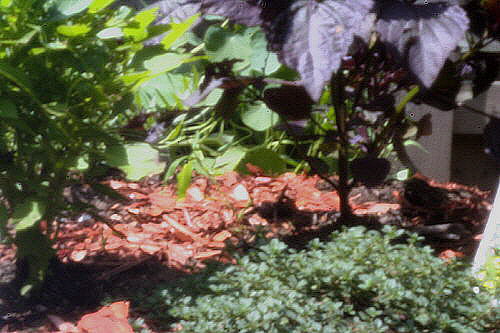
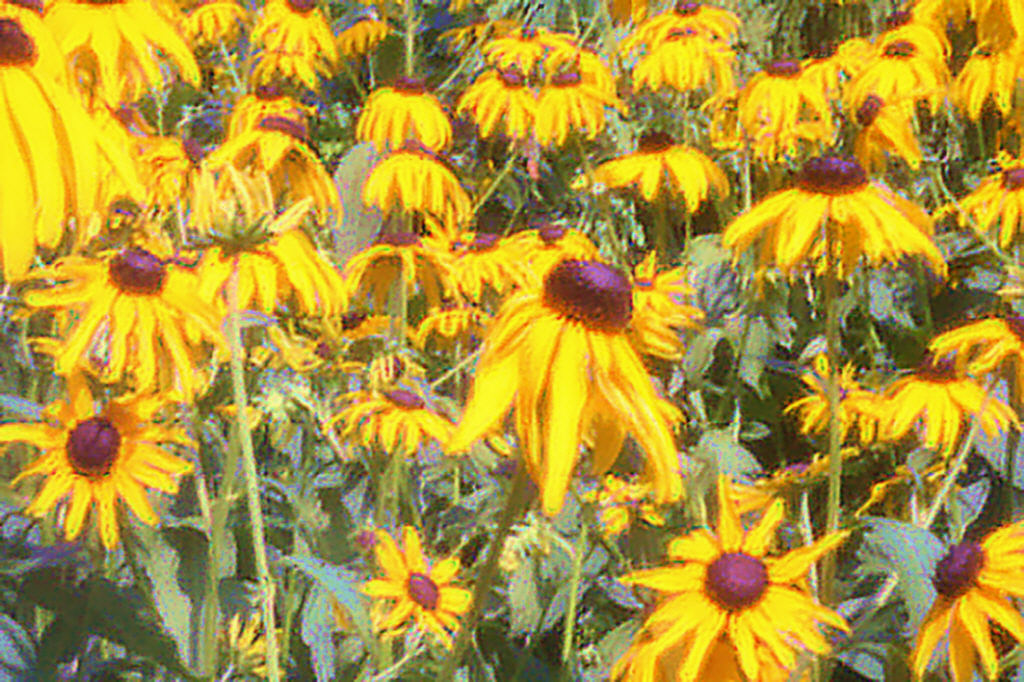
My first attempt at a pinhole macro shot. Too much digital sharpening. I guess I could stitch many shots together to get a wider field of view.

Normal  sharpening

Sharpening with a program called Focus Magic.. 

< Back to photo index

Please contact me for permission to use or reproduce any part of this page photos@rraz.ca

Ryan


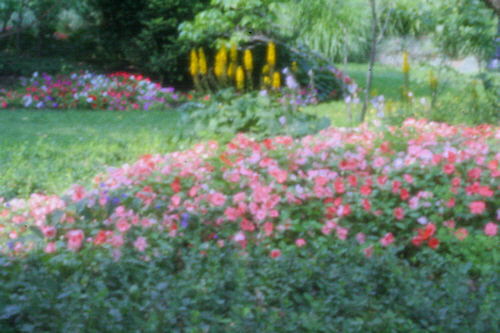
3 second ISO 1600 exposure with Image processed using advanced sharpening and no color adjustment in Picture Window Pro

Same image as above but with color correction and processed by  Magic Focus